Set up your sending domain (so email actually lands)
Out of the box, outbound email sends from a shared address — fine to start, but it caps your deliverability. Sending from your own domain, authenticated, is the single biggest thing you can do to keep email out of spam. It takes a few DNS records and about ten minutes (plus propagation time). Here’s the whole flow.
1. Open Email Services
Your GoHighLevel CRM comes free with YG3. In the workspace, open Settings → Email Services, then Dedicated Domain & IP.
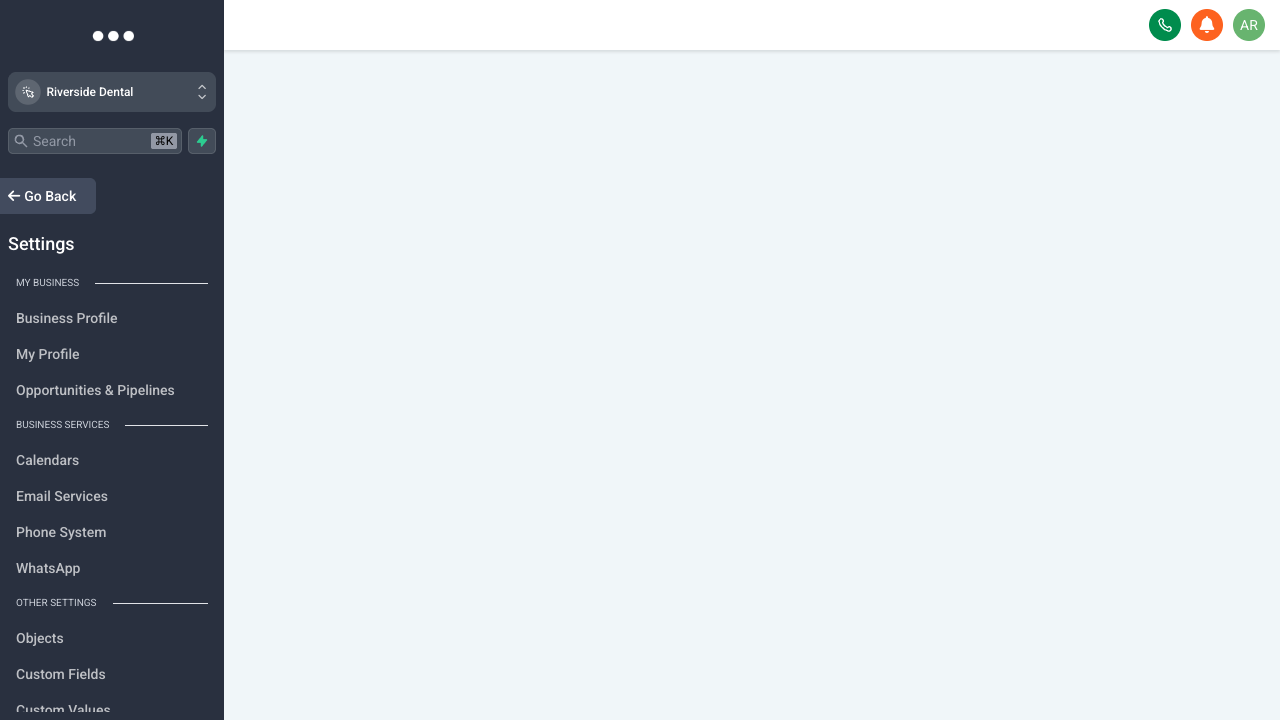
Settings → Email Services, under Business Services.
2. Add your sending domain
Click Add Domain and enter a subdomain dedicated to sending — mail.yourdomain.com is the convention. Using a subdomain (rather than your root domain) protects your main domain’s reputation and improves deliverability. Press Add & Verify.
3. Add the DNS records
GoHighLevel then shows the exact records your domain needs. You have two paths:
Auto-configure (easiest). If your DNS lives at a supported provider — Cloudflare, GoDaddy, or Namecheap — GoHighLevel detects it, and after you authorize, it writes every record for you and flips the domain to Verified. Nothing to copy by hand.
Manual. Otherwise, open your DNS provider in another tab, click Add Record for each one, choose the record type, and copy the Name/Host and Value/Target exactly as GoHighLevel shows them. The set it generates covers four jobs:
| Record | What it does |
|---|---|
| CNAME | Links your sending subdomain to GoHighLevel’s email infrastructure and carries the DKIM keys. |
| TXT — SPF | Authorizes GoHighLevel’s servers to send mail on behalf of your domain. |
| TXT — DKIM | Cryptographically signs every message so receivers can prove it wasn’t tampered with. |
| TXT — DMARC | Sets the policy for how to handle mail that fails the checks, and turns on reporting. |
The exact Name and Value for each record are generated per domain — always copy them from your own screen, don’t reuse another domain’s.
4. Verify
Back in GoHighLevel, hit Verify. DNS changes can take a few minutes to up to 24 hours to propagate — if a record shows as not found right away, give it time and re-check. Once everything is green, your outbound email sends from your own authenticated domain.
A couple of tips
Use a subdomain, not your root domain. Warm up gradually — don’t blast your full list on day one from a brand-new domain. And keep mail.yourdomain.com dedicated to sending; don’t point your website or other services at it.